Step-by-Step Installation Guide
Get GroupDelete up and running in just a few minutes. Follow the steps below.
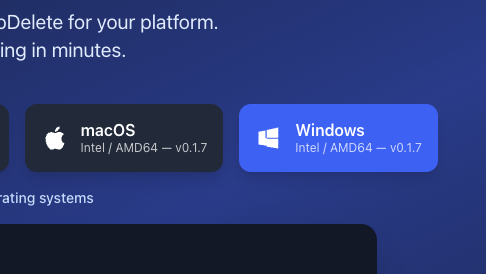
Download GroupDelete
Choose the download for your operating system above. After purchasing a license, you'll receive an email with your license key.
Keep your license key handy — you'll need it when you first launch the app.
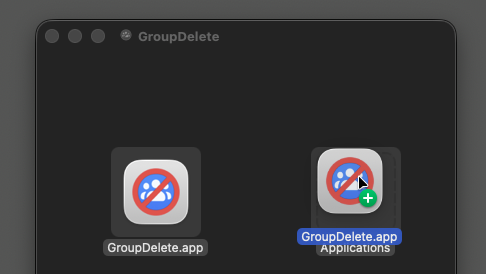
Install the App
Open the downloaded file and follow the standard install process for your platform. On macOS, drag GroupDelete to your Applications folder. On Windows, run the installer. On Linux, make the binary executable and run it.
macOS users: If you see a security warning, go to System Settings → Privacy & Security and click 'Open Anyway'.
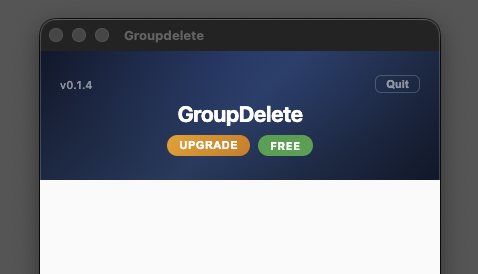
Launch GroupDelete
Open GroupDelete from your Applications folder, Start Menu, or terminal. The app will open a browser window with the GroupDelete dashboard.
GroupDelete runs locally on your machine — your data never leaves your computer.
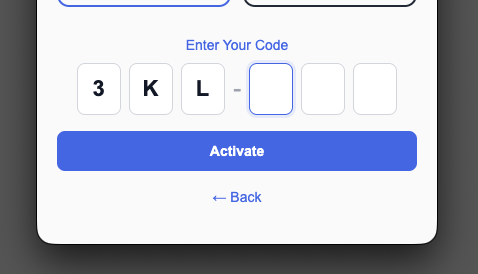
Activate Your License
Enter the license key from your purchase email and click Activate. Your license will be validated instantly and you'll be ready to go.
Your license can be used on up to 2 devices. You can manage your devices from your account.
Log In to Facebook
Launch Chrome will open a Chrome window and navigate to Facebook. Log in to the account whose groups you want to manage. The app side loads and never saves any information and when the app browser window is closed the app is finished working, no background scripts or saving of private data.
If Chrome isn't installed, GroupDelete will download a compatible browser automatically.
Coming soon
Select Groups & Run
Once logged in, GroupDelete will load your Facebook groups. Select the groups you want to leave — or use 'Select All' for a clean sweep — then click 'Delete Selected Groups' and let the app do the rest.
You can review your selections before confirming. The process runs automatically — sit back and watch your group list get cleaned up!
Coming soon
You're All Set!
GroupDelete is installed and ready to go. If you run into any issues, check the FAQ on our homepage or reach out to support.